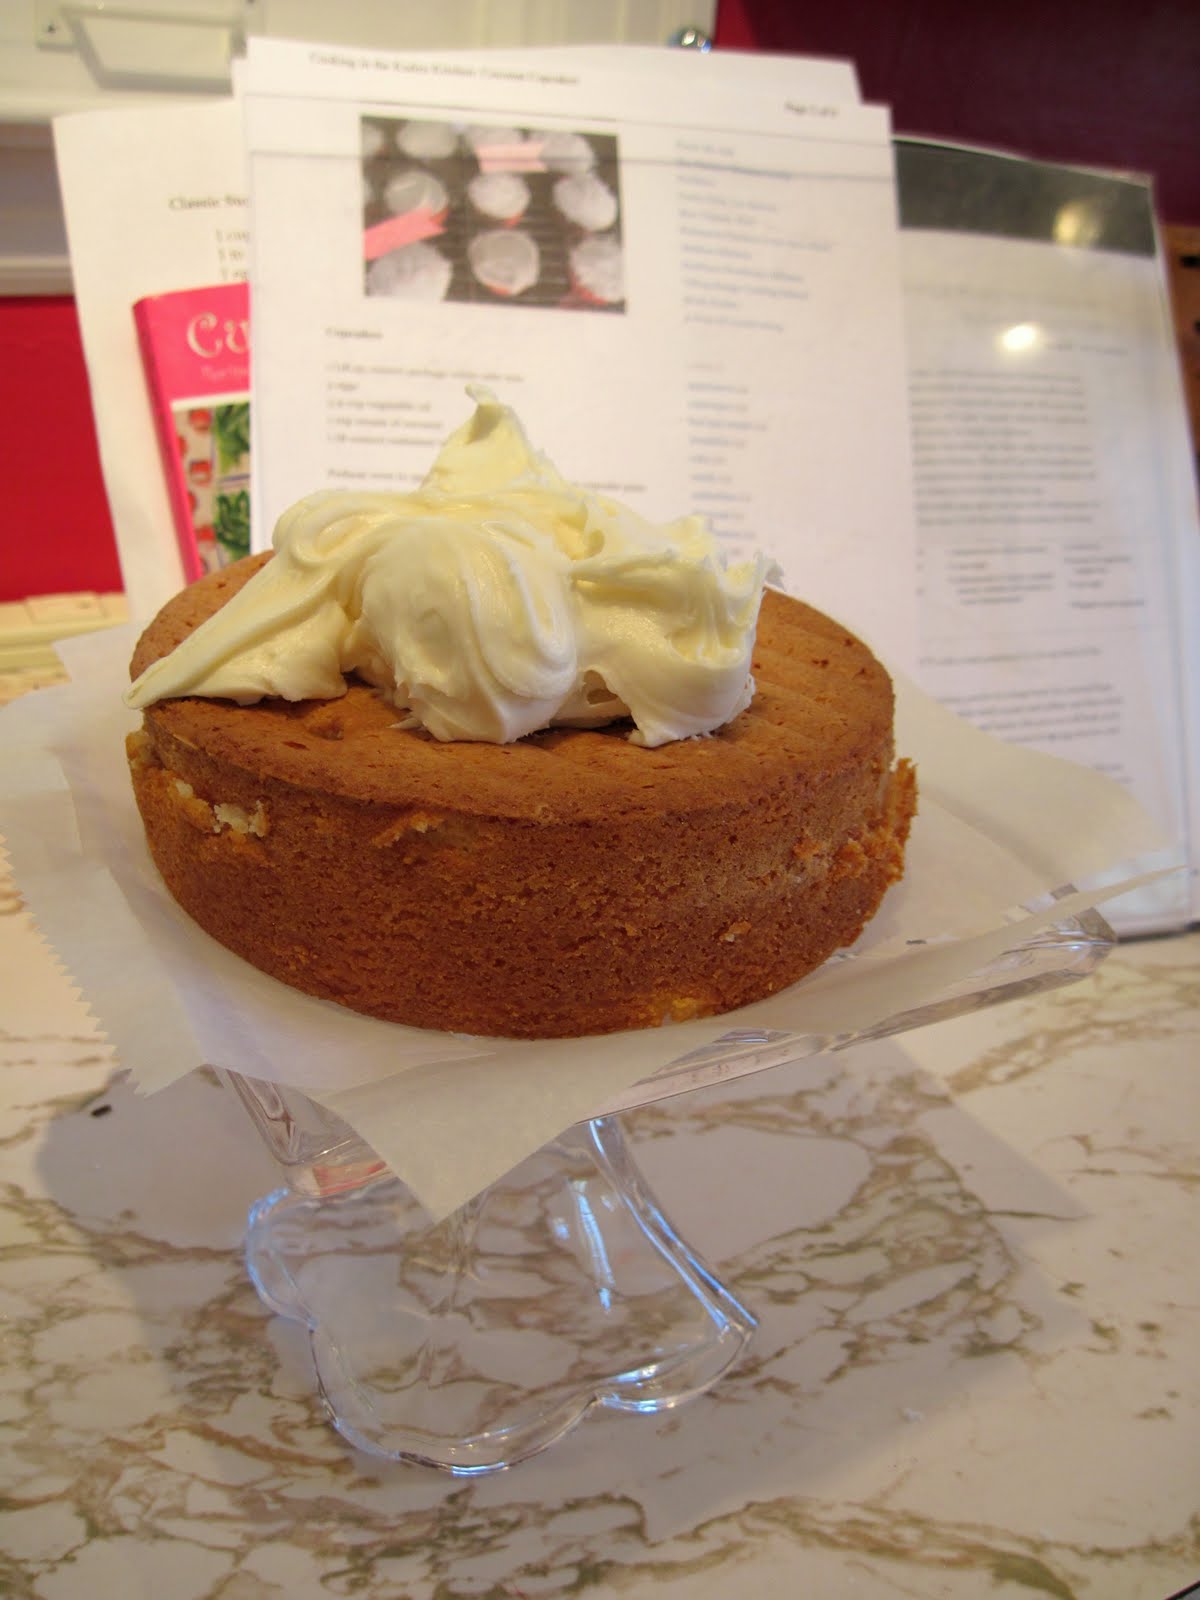
It's not even that pretty, just a poky little cake.
I understand that when cake mixes first came out, ads touted their efficiency qualities, how they'd make things easier for the little woman in the kitchen.
No woman wanted to
that woman, the one talked about in the coffee klatch because she is too lazy, too selfish, and too cold to her husband and her poor children to make a cake from scratch.
Food marketers wised up and changed their ads so that they emphasized the yumminess that was cake from a mix; then cakes baked from a mix became something special and delicious, not just the same old, same old that any woman can mix up.
I'll tell you; I was raised mostly on cake mix cakes. They're good! Yes, they are.
I'll tell you something else; I've never baked a homemade from scratch cake (that wasn't chocolate) that tasted good. They're edible but only just. They always turn out packy and dense and unappetizing.
I like to bake. I like to sift flour and get out my measuring cups and measuring spoons. I enjoy getting to use a whisk. I like having that red box of Swans Down Cake Flour in the kitchen.
When I offered to bring a dessert for my mother's house for Sunday dessert, I decided to bake a homemade cake for fun.
Baking it was fun. Eating it? Not so much.
The cake was packy and dense and unappetizing, like the others I've made. They're all different recipes but I have to wonder if I'm doing something wrong.
I have this recipe saved and no idea from whence it came.
All-American, All-Purpose Yellow CakeButter and flour for preparing cake pans
2 1/2 cups cake flour
1 tablespoon baking powder
1 teaspoon salt
12 tablespoons unsalted butter, softened
1 1/2 cups granulated sugar
5 large eggs
1 cup milk
2 teaspoons vanilla extract
1. Remove butter and eggs from refrigerator about 2 hours before starting recipe. Heat the oven to 350*F (175*C). Adjust oven rack to the middle position.

Butter two 9-inch cake pans, cover the bottom of each pan with a circle of parchment, butter the parchment and coat the pan with flour, shaking out the excess.
2. Sift together flour, baking powder and salt.
3. Beat butter in a large bowl with an electric mixer at medium speed for 30 seconds. Continue beating and gradually add the sugar. Beat until light-colored, about 3 minutes. Add eggs, one at a time, beating after each addition. The mixture should appear thick and dull. If it appears separated or grainy and shiny, the butter and/or eggs were too cold. To remedy this, wrap the bowl with a kitchen towel soaked with hot water and continue mixing. Scrape down the sides of the bowl when necessary.
4. Add about 1/3 of both the flour mixture and milk and beat on low speed or by hand until just incorporated. Add the vanilla and then the remaining flour and milk in two batches, beating between additions. Scrape down the sides of the bowl and stir by hand to finish.
5. Divide the batter between the prepared pans. Twist the pans back and forth on the work surface to distribute batter and then smooth surface with a rubber spatula. Place pans in oven a few inches apart, and bake for about 30 minutes, rotating the pans 180 degrees after 15 minutes. Check the cake after 22 minutes. The top of the cake should be golden brown and spring back when lightly pressed in the center, and a cake tester should come out clean. The cakes should start shrinking back from the sides of the pan.
6. Remove the pans to a cooling rack. Let rest for 5 minutes. Run a small knife or metal spatula around the sides of the pans and invert cakes onto lightly greased racks. Remove parchment paper.
 These cakes smelled so good while they're were cooling - all luscious and vanilla-y.
 Reinvent cakes onto cooling rack. Let cool for at least 1 1/2 hours or until completely cooled.
Makes one 2-layer cake; serves 12.
Chocolate Cream Cheese Frosting4 ounces unsweetened chocolate
1 (8-ounce) package cream cheese, at room temperature
4 cups confectioners' sugar
1 tablespoon vanilla
dash salt
milk
Melt chocolate in a double boiler or in the microwave if you know your microwave well.

 Chocolate + cream cheese. How could that go wrong. I ask you.
 In a large mixing bowl, beat cream cheese until fluffy. Pour the melted chocolate over the cream cheese.

Mix on medium speed until well blended. Add the vanilla and salt and slowly stir in the confectioners sugar.
Scrape the sides of the bowl and increase mixer speed to medium-high. Slowly add a tablespoon or two of milk if needed.
This should have been dreamy but it wasn't. While I was shopping for the ingredients I had an inkling that bittersweet or semi-sweet chocolate would be better. I should have paid attention to my intuition. It was trying to help.
This frosting I would make again. The cake, I doubt it. Seriously.