Wednesday, May 19, 2010

Summer Citrust Shrimp with Parmesan Vermicelli and Grilled Green Beans


Saturday in between baking and decorating a cake I marinated shrimp for dinner. I used the recipe Jeffrey came up with last summer.

Jeffrey grilled skewers of shrimp and a grill-pan of green beans tossed with olive oil and Cavender's Greek seasoning.

I cooked vermicelli and tossed it with softened butter, freshly grated Parmesan, cracked black pepper, and a sprinkling of fresh parsley from our garden. It was really tasty. Something about that shrimp went so well with the pasta. I was hoping we'd have some leftover green beans I could put on a salad this week but we ate every last one.

Tuesday, May 18, 2010

Mom's Birthday Cake

We celebrated my mother's birthday with a big Sunday dinner. We had Shrimp and Gravy over Asiago cheese grits.

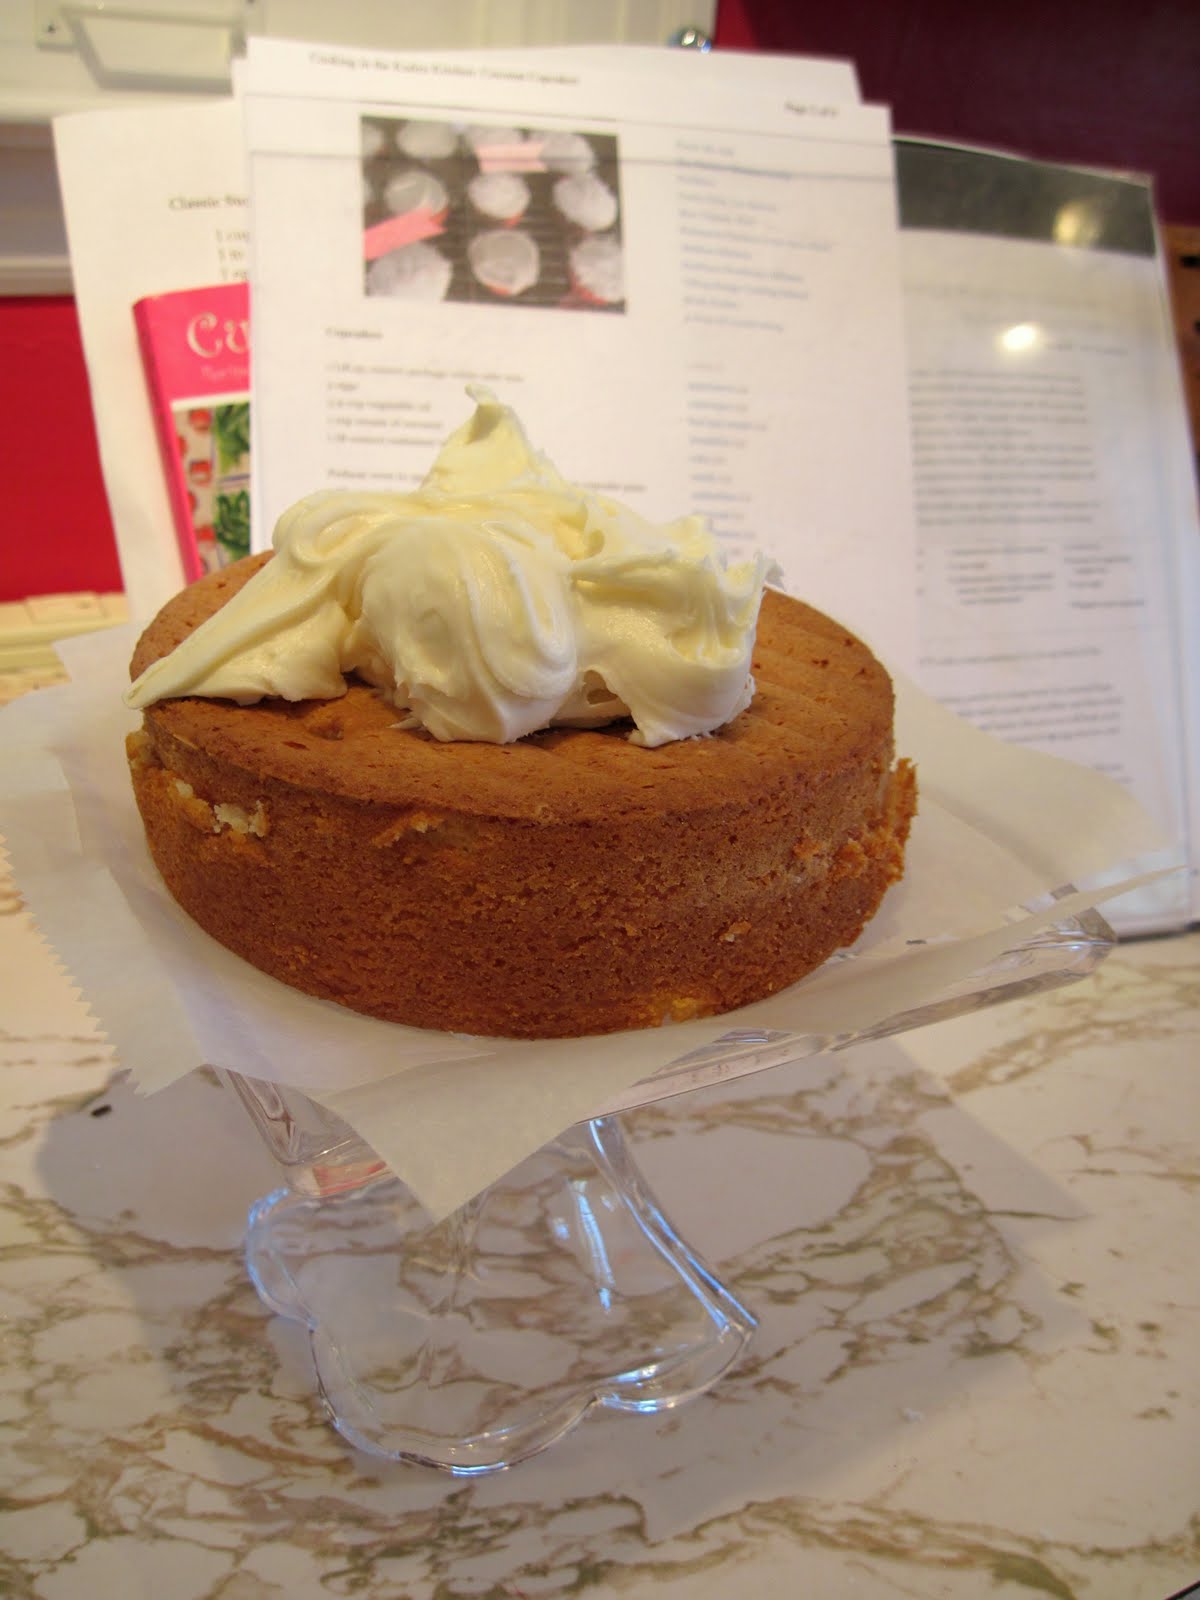
For dessert I baked and decorated a cake. After the last time, I made a box from a mix. And it was good.

While the cake cooled, I mixed up the icing:

1 stick butter, room temperature
about 4 cups of sifted powdered sugar
1 tablespoon of vanilla
a few tablespoons of milk

I creamed all that together.

After the cake was completely cooled, I coated the cake with a thin schmear of icing. This is the crumb coat.


It's not pretty but it is effective.

After I got it on, I put in the fridge to set up. The icing hardens a bit, making the cake much easier to thoroughly frost.

I sketched out an idea of how I wanted the cake to look.


Mixed up frosting in various colors - love that part - and got to decorating.


It's far from perfect but it made Mom happy and tasted pretty good.

Monday, May 3, 2010

Shrimp and Gravy for Supper Club

I emailed a friend and mentioned we were hosting supper club. The friend lives in Naples, Florida. Geographically, Florida is southern. Obviously. Every other way, it's really not; I shouldn't have been surprised when she emailed back and asked, "What's a supper club?"


Our supper club gets together about once a month. One couple hosts the dinner party and prepares a meal for the guests, about 20 people.


For our turn, we had Smoked Catfish Pate and fruit and cheese for appetizer. Good thing, too, because everyone arrives about 7:00 and we had so much fun visiting and catching up that it was 8:45 before we sat down at the table to eat. (Bad hosts! Bad! Note to self: next time, ask everyone to get there around 6:00.)

We had a green salad with brown-sugared pecans and sweet and sour vinaigrette.

The main course was Charleston-Style Shrimp and Grits over Asiago-Cheese Grits with Caramelized Onion.

Rhodes's rolls with honey orange butter


were on the table and lemon cheesecake with coffee for dessert.

Shrimp and Gravy
The Husband found this recipe online and we made a few adjustments to it.

3 slices bacon
1 onion, chopped
1 green bell pepper, seeded and chopped
2 teaspoons seasoned salt
1/2 teaspoon black pepper
1/2 teaspoon garlic powder
2 tablespoons butter
4 tablespoons all-purpose flour, divided
1 pound large shrimp, peeled and deveined
1 cup chicken stock
1 green onion, chopped

Fry bacon over medium heat and remove to paper towels to drain. Add the butter to the bacon grease. (I ask you: were any prettier words ever written? Add butter TO the bacon grease!) When the butter melts, sprinkle 3 tablespoons of flour over it and reduce heat to medium low. Cook for about 12 minutes, stirring frequently, until the roux is dark brown. Reduce heat if it starts to scorch.

Add the chopped onions and bell pepper when the roux is dark brown. Increase the heat to medium-high. Cook, stirring, for a couple of minutes.

Meanwhile, toss the shrimp in a large bowl with the seasonings and remaining flour. Pour in to the pan with the onion and bell pepper, stirring frequently for one minutes. Stir in the chicken stock and reduce heat to low. Cook just long enough to thicken the broth, being careful not to overcook. You don't want the shrimp to get tough!

Spoon out grits onto a plate and top with a ladle-full of the shrimp and gravy. Top with crumbled bacon and chopped green onion.

Asiago Cheese Grits wtih Caramelized Onion

Also known as: the bomb.

Asiago Cheese Grits with Caramelized Onion

1 medium yellow onion, sliced
Olive oil
4 cups water
4 cups milk
2 teaspoons salt
1 teaspoon white pepper
4 tablespoons butter
1 1/4 cups grits
1/2 pound asiago (or fontina) cheese, grated

Heat olive oil in a small skillet over medium heat. Cook onion on medium until brown. Add salt and pepper, cover, and reduce heat. Let cook until good and golden brown.

In a large pot, over medium heat, combine the water, milk, salt, pepper and 2 tablespoons of the butter. Bring the liquid to a gentle boil.

Stir in the grits.

Cook for 1 hour and about 15 minutes, stirring often.

Remove the pan from the heat

Stir in the remaining 2 tablespoons butter, cheese, and onions.
Serve immediately or spoon into a greased 9x13-inch casserole dish. Cool, cover, and refrigerate for several days. To serve let come to room temperature, and heat at 350 degrees for about 30 minutes.

Sprinkle with paprika before serving.

Thursday, April 29, 2010

Nutella Pinwheels

Two of the easiest, tastiest, most convenient products: Nutella spread (chocolate and hazelnut near the peanut butter at the grocery store) and puff pastry.

True love!

Follow package instructions to thaw puff pastry sheet, roll out slightly on a lightly floured surface. Then spoon over the Nutella. Nom nom nom.

Roll up lengthwise, let chill for easier slicing, and cut into spirals. If you have hazelnuts on hand, you can chop a handful and sprinkle on top.

It doesn't matter if the pinwheels aren't pretty.


They bake up nice.


Nutella Pinwheels are perfect make-ahead treats, too. Roll up, wrap well, and freeze. They're good to have in the freezer so they'll be handy if you have a sugar and carb emergency. Thaw the puff pastry logs slightly at room temperature, slice, and bake.

Monday, April 19, 2010

Disappointing yet delicious-sounding: Homemade Yellow Cake with Chocolate Cream Cheese Icing

It's not even that pretty, just a poky little cake.

I understand that when cake mixes first came out, ads touted their efficiency qualities, how they'd make things easier for the little woman in the kitchen.

No woman wanted to that woman, the one talked about in the coffee klatch because she is too lazy, too selfish, and too cold to her husband and her poor children to make a cake from scratch.

Food marketers wised up and changed their ads so that they emphasized the yumminess that was cake from a mix; then cakes baked from a mix became something special and delicious, not just the same old, same old that any woman can mix up.

I'll tell you; I was raised mostly on cake mix cakes. They're good! Yes, they are.

I'll tell you something else; I've never baked a homemade from scratch cake (that wasn't chocolate) that tasted good. They're edible but only just. They always turn out packy and dense and unappetizing.

I like to bake. I like to sift flour and get out my measuring cups and measuring spoons. I enjoy getting to use a whisk. I like having that red box of Swans Down Cake Flour in the kitchen.

When I offered to bring a dessert for my mother's house for Sunday dessert, I decided to bake a homemade cake for fun.

Baking it was fun. Eating it? Not so much.

The cake was packy and dense and unappetizing, like the others I've made. They're all different recipes but I have to wonder if I'm doing something wrong.

I have this recipe saved and no idea from whence it came.

All-American, All-Purpose Yellow Cake

Butter and flour for preparing cake pans
2 1/2 cups cake flour
1 tablespoon baking powder
1 teaspoon salt
12 tablespoons unsalted butter, softened
1 1/2 cups granulated sugar
5 large eggs
1 cup milk
2 teaspoons vanilla extract

1. Remove butter and eggs from refrigerator about 2 hours before starting recipe. Heat the oven to 350*F (175*C). Adjust oven rack to the middle position.

Butter two 9-inch cake pans, cover the bottom of each pan with a circle of parchment, butter the parchment and coat the pan with flour, shaking out the excess.

2. Sift together flour, baking powder and salt.

3. Beat butter in a large bowl with an electric mixer at medium speed for 30 seconds. Continue beating and gradually add the sugar. Beat until light-colored, about 3 minutes. Add eggs, one at a time, beating after each addition. The mixture should appear thick and dull. If it appears separated or grainy and shiny, the butter and/or eggs were too cold. To remedy this, wrap the bowl with a kitchen towel soaked with hot water and continue mixing. Scrape down the sides of the bowl when necessary.

4. Add about 1/3 of both the flour mixture and milk and beat on low speed or by hand until just incorporated. Add the vanilla and then the remaining flour and milk in two batches, beating between additions. Scrape down the sides of the bowl and stir by hand to finish.

5. Divide the batter between the prepared pans. Twist the pans back and forth on the work surface to distribute batter and then smooth surface with a rubber spatula. Place pans in oven a few inches apart, and bake for about 30 minutes, rotating the pans 180 degrees after 15 minutes. Check the cake after 22 minutes. The top of the cake should be golden brown and spring back when lightly pressed in the center, and a cake tester should come out clean. The cakes should start shrinking back from the sides of the pan.

6. Remove the pans to a cooling rack. Let rest for 5 minutes. Run a small knife or metal spatula around the sides of the pans and invert cakes onto lightly greased racks. Remove parchment paper.

These cakes smelled so good while they're were cooling - all luscious and vanilla-y.

Reinvent cakes onto cooling rack. Let cool for at least 1 1/2 hours or until completely cooled.

Makes one 2-layer cake; serves 12.


Chocolate Cream Cheese Frosting

4 ounces unsweetened chocolate
1 (8-ounce) package cream cheese, at room temperature
4 cups confectioners' sugar
1 tablespoon vanilla
dash salt
milk

Melt chocolate in a double boiler or in the microwave if you know your microwave well.


Chocolate + cream cheese. How could that go wrong. I ask you.

In a large mixing bowl, beat cream cheese until fluffy. Pour the melted chocolate over the cream cheese.


Mix on medium speed until well blended. Add the vanilla and salt and slowly stir in the confectioners sugar.

Scrape the sides of the bowl and increase mixer speed to medium-high. Slowly add a tablespoon or two of milk if needed.

This should have been dreamy but it wasn't. While I was shopping for the ingredients I had an inkling that bittersweet or semi-sweet chocolate would be better. I should have paid attention to my intuition. It was trying to help.


This frosting I would make again. The cake, I doubt it. Seriously.

Monday, April 5, 2010

Coconut Cake

Sunday afternoon at my grandparents were spent around the dining room table. From the time I was a little girl, I remember being drowsy with good food, sunlight streaming in through the curtains, the hum of grownups’ voices. The women talked about garden club meetings, recipes exchanged in the grocery store, bridge club, bake sales, funerals. When a coconut cake was mentioned, it was with hushed and reverent tones.

I didn’t – and still don’t - like coconut so I didn’t understand the awe associated with coconut cake.

When I was old enough to bake myself, I still didn’t get it. How hard could it be? What was the big deal?

Now I get it. I see what the big deal is. I know why baking a coconut cake using fresh coconut is a very big deal indeed.

I learned this Saturday when I made one to celebrate Easter.

The Husband poked the three “eyes” of the coconut and drained the coconut water.

He used a chisel and a hammer to crack the coconut open.


That took some doings.


Finally, success!


That was the easy part. The halves then had to be broken into pieces. The Husband broke the halves into shards. Next you’re supposed to peel off the shell. Just peel it off.

It didn’t go that smoothly. You had to take off small pieces of the shell, bit by bit. It was about as efficient, fun, and easy as peeling off old, stubborn wallpaper.


We grated the coconut and lost count of how many times we scraped knuckles and fingers on the grater.

For all that work The Husband did, this is how much coconut he got:


Seems like a lot of sugar for a dime.

I traced a six-inch cake pan onto parchment paper and cut around the circles.


I love cake pans. So pretty and shiny.

I buttered the bottoms of two six-inch cake pans, lined them with the parchment paper circles, and buttered the parchment paper. (I keep the wrappers sticks of butter come in for just this purpose.) That may be one extra step too many but that way, I don't have to worry about the cake sticking to the bottom of the pan, no matter what.

The cake:

1 (18.25-ounce) package white cake mix
2 eggs
1/4 cup vegetable oil
1 cup cream of coconut
1 (8-ounce) container sour cream

Preheat oven to 350 degrees. Line about two dozen cupcake pans with paper liners.

Combine all ingredients and mix for four minutes. Pour into prepared pan.

Bake according to package directions and cool on wire rack.

(This yielded enough batter for two six-inch round cakes and about a dozen cupcakes.)

I let the cake cool a bit before brushing the tops of the cake layers and cupcakes with the reserved drained coconut water.

While the cake soaked up the coconut water I did the first round of unloading the dishwasher, loading it back, and washing the mixing bowl and my favorite measuring cups.

The frosting:

8 ounces cream cheese, at room temperature
1 stick butter, at room temperature
1 teaspoon vanilla extract
2 tablespoons cream of coconut (there should be just that much left in the can, if not, use milk)
4 cups confectioners sugar
shredded coconut

The fun part: icing the cake.


And the cupcakes


The cakes got a thin layer of icing, a crumb coat. I refrigerated the cake for a few minutes to let the crumb coat set up. I took it from the fridge and slathered on the icing. With the crumb coat nice and chilled, the rest of the frosting goes on smoothly and easily because I don't have to worry about snagging a bunch of unslightly crumbs and dragging them into the icing. The icing is topped with the grated coconut.


Those flecks of brown are from the paper-thin layer surrounding the coconut. The fact that it’s not pristine white shows that an actual coconut was used and should be viewed as a good thing, a sign of authenticity.

Is what I tell myself anyway.


The Husband, who loves coconut cake, and the reason I made the cake, loves it. My grandmother said she thinks that’s the best coconut cake she’s ever had. High praise.